Home Support

Support

Liftroller step-by-step

Step by step instructions on how to transport materials into buildings using the Liftroller system. An easy and efficient method for moving plasterboard and other materials onto the respective floors.

Do you have technical questions or do you need support for equipment you have from us?
Our support department is happy to help you.
1/6 Place the trestles in the slots

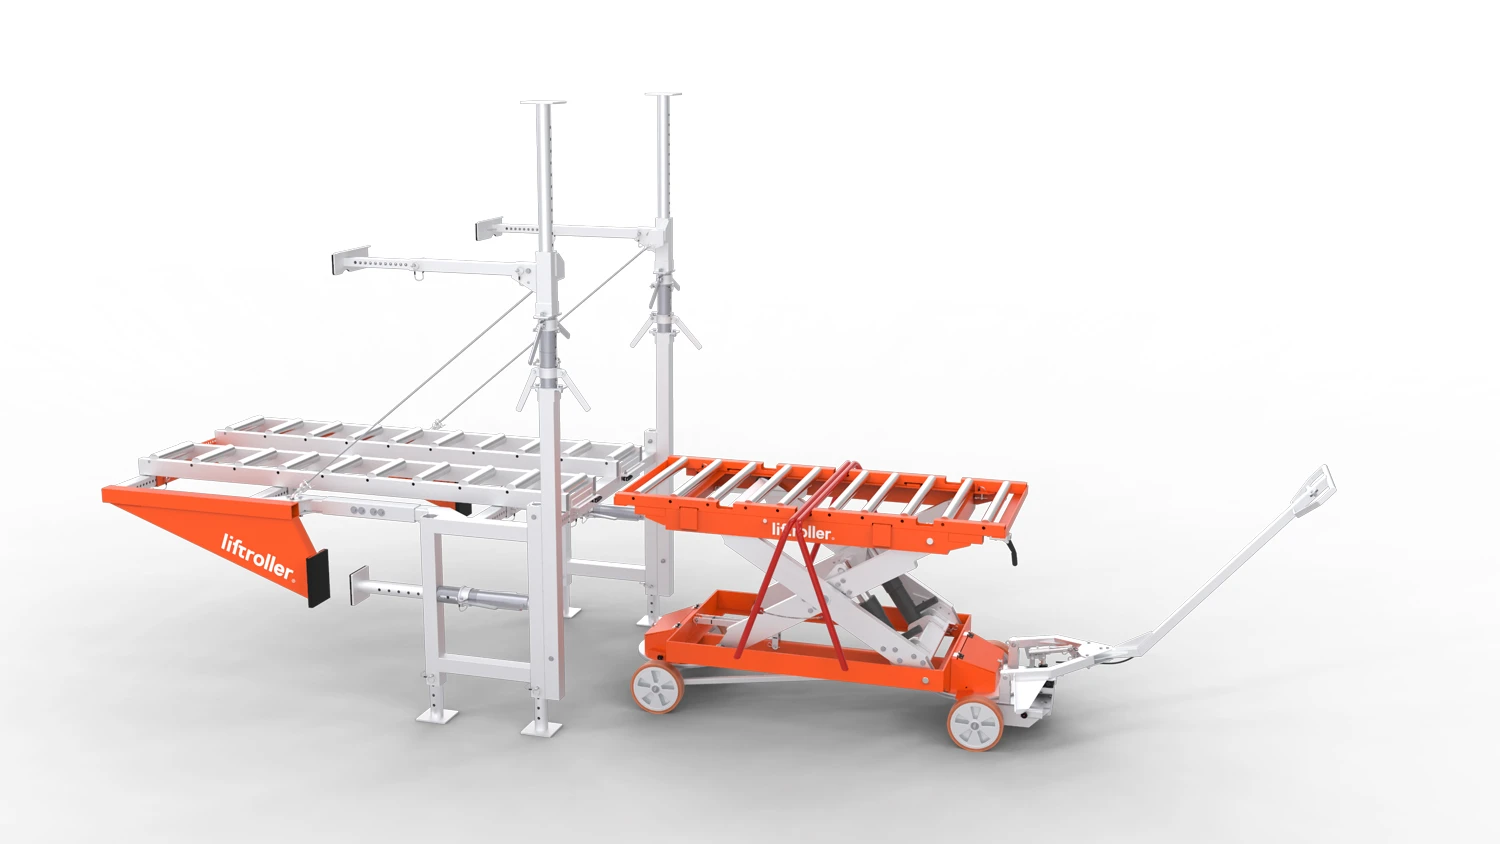
The Liftroller Wagon has three slots for trestles. Position the trestle in the appropriate slot for the materials in question. The trestle then supports the centre of the load when the wagon is lowered into the desired position.

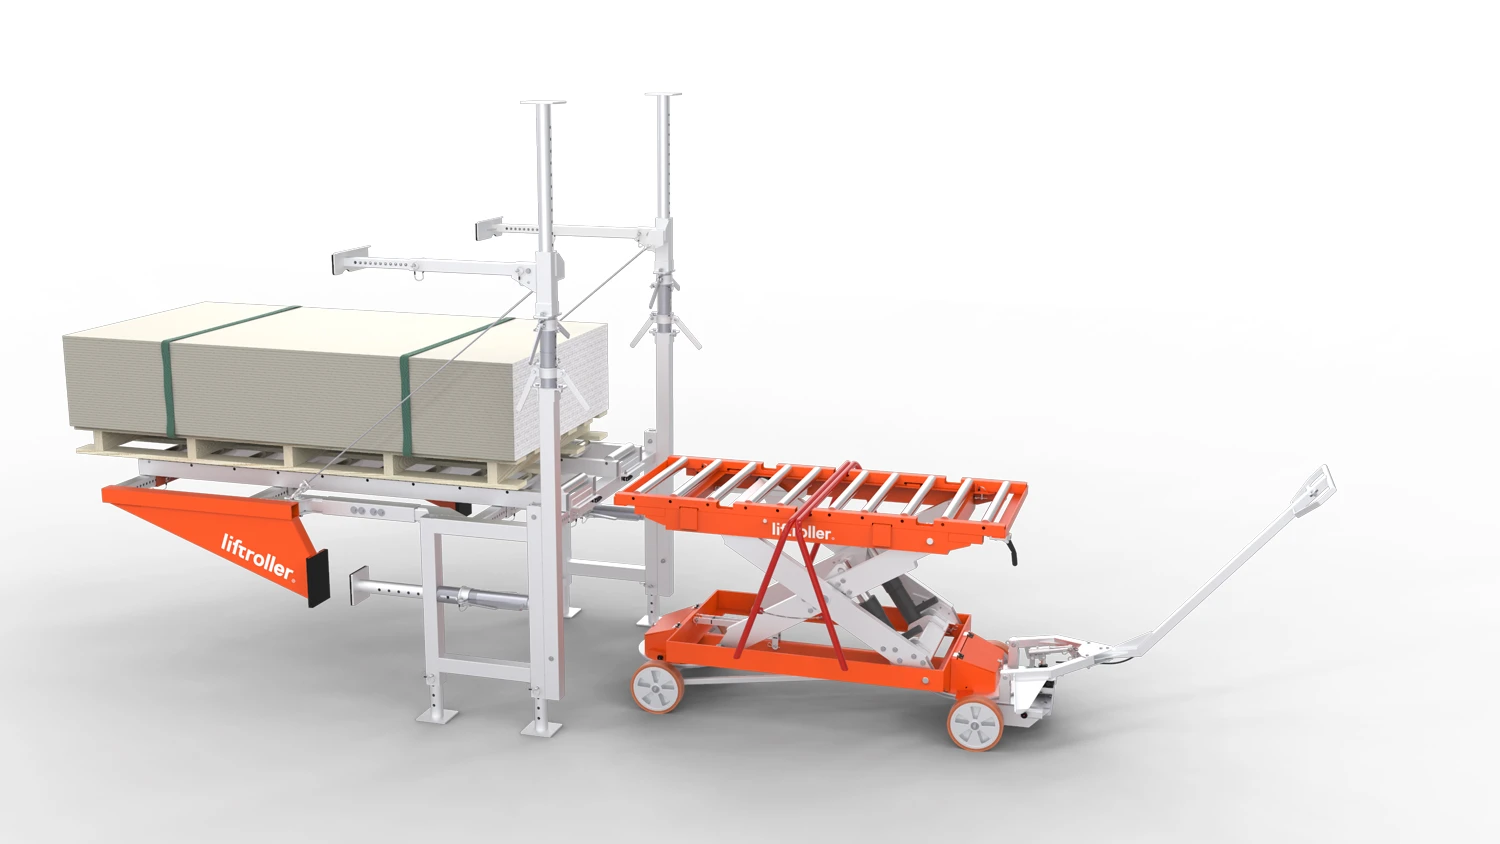
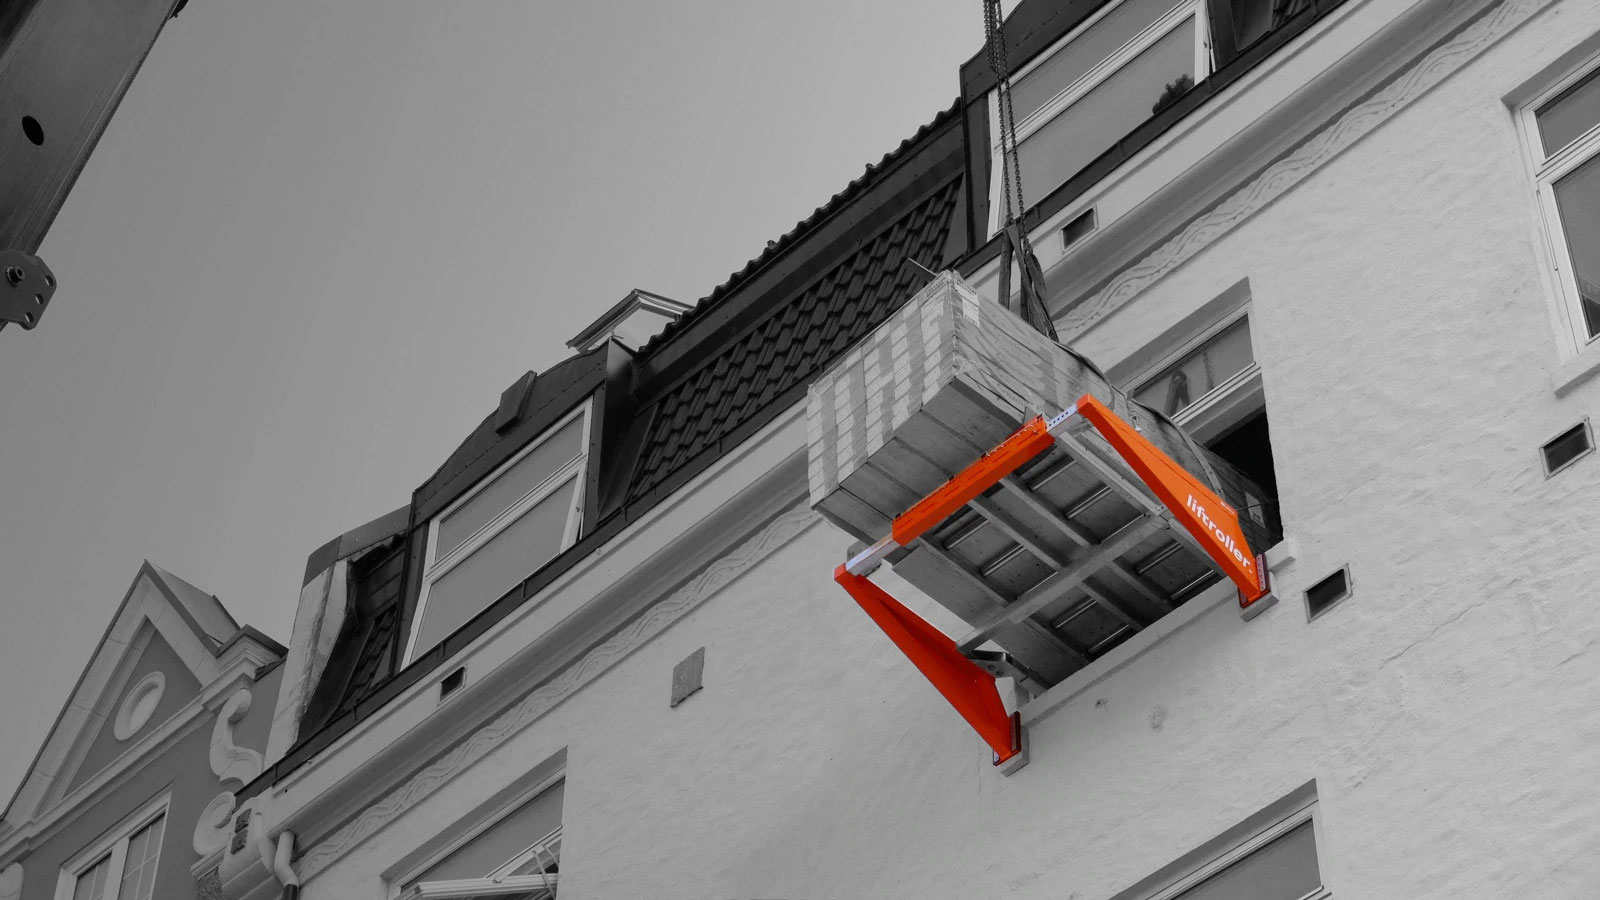
2/6 Lift the load onto the Liftroller Wall

The crane operator hoists the load from ground level onto the Liftroller Wall. The workers on the upper floor receive the load and help place it in the centre of the rollers.

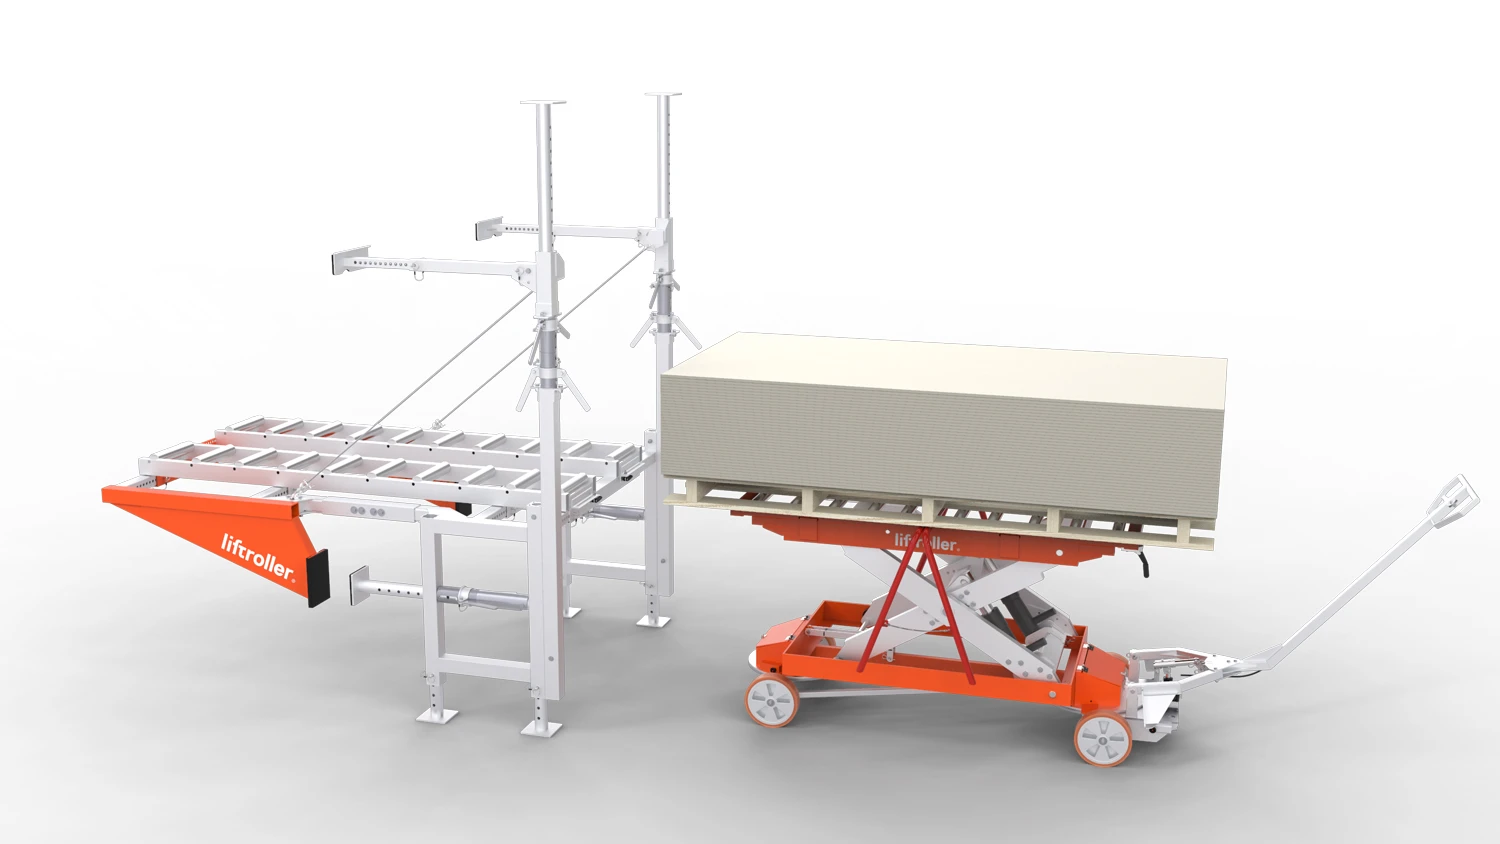
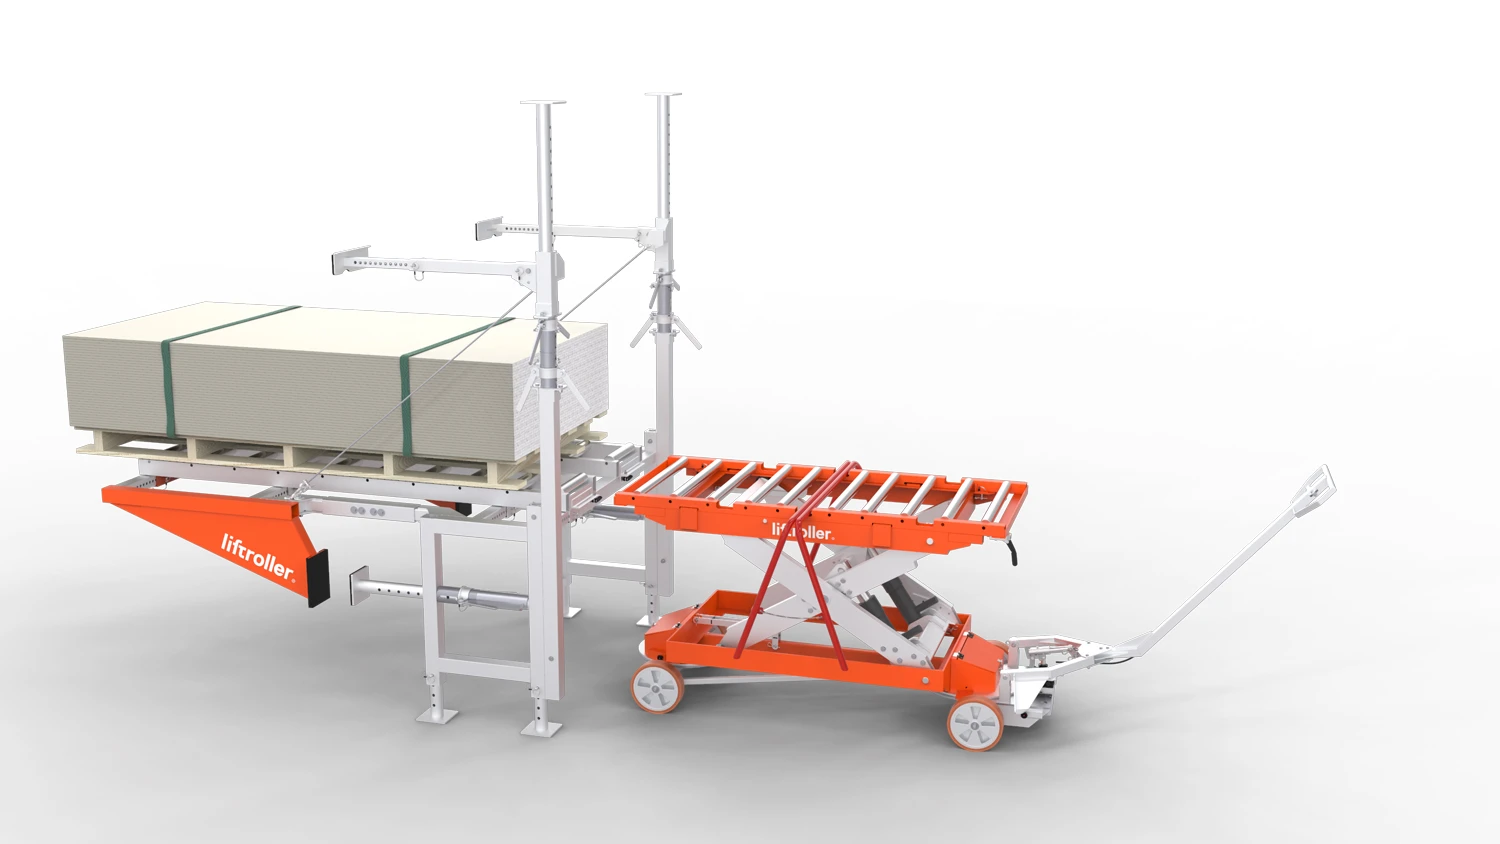
3/6 Roll the load onto the Liftroller Wagon

Once the slings on the crane have slackened and the load has come to a rest on the loading platform, unhook the slings and roll the load onto the Liftroller Wagon. The rollers on the wagon can be locked with a simple hand movement, leaving the load safe and secure. The crane can now return to ground level to collect the next batch of materials.

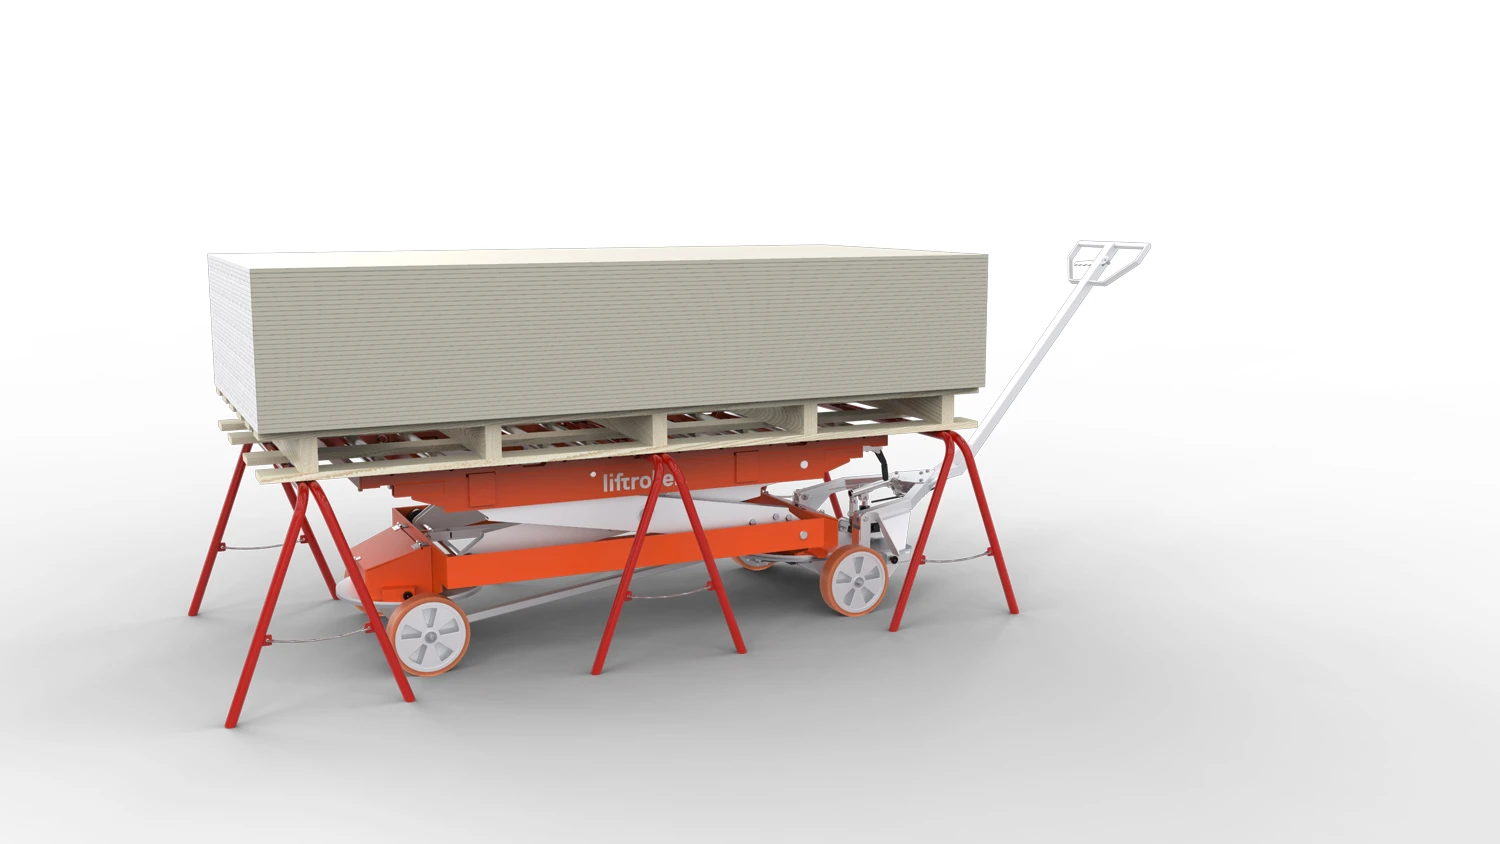
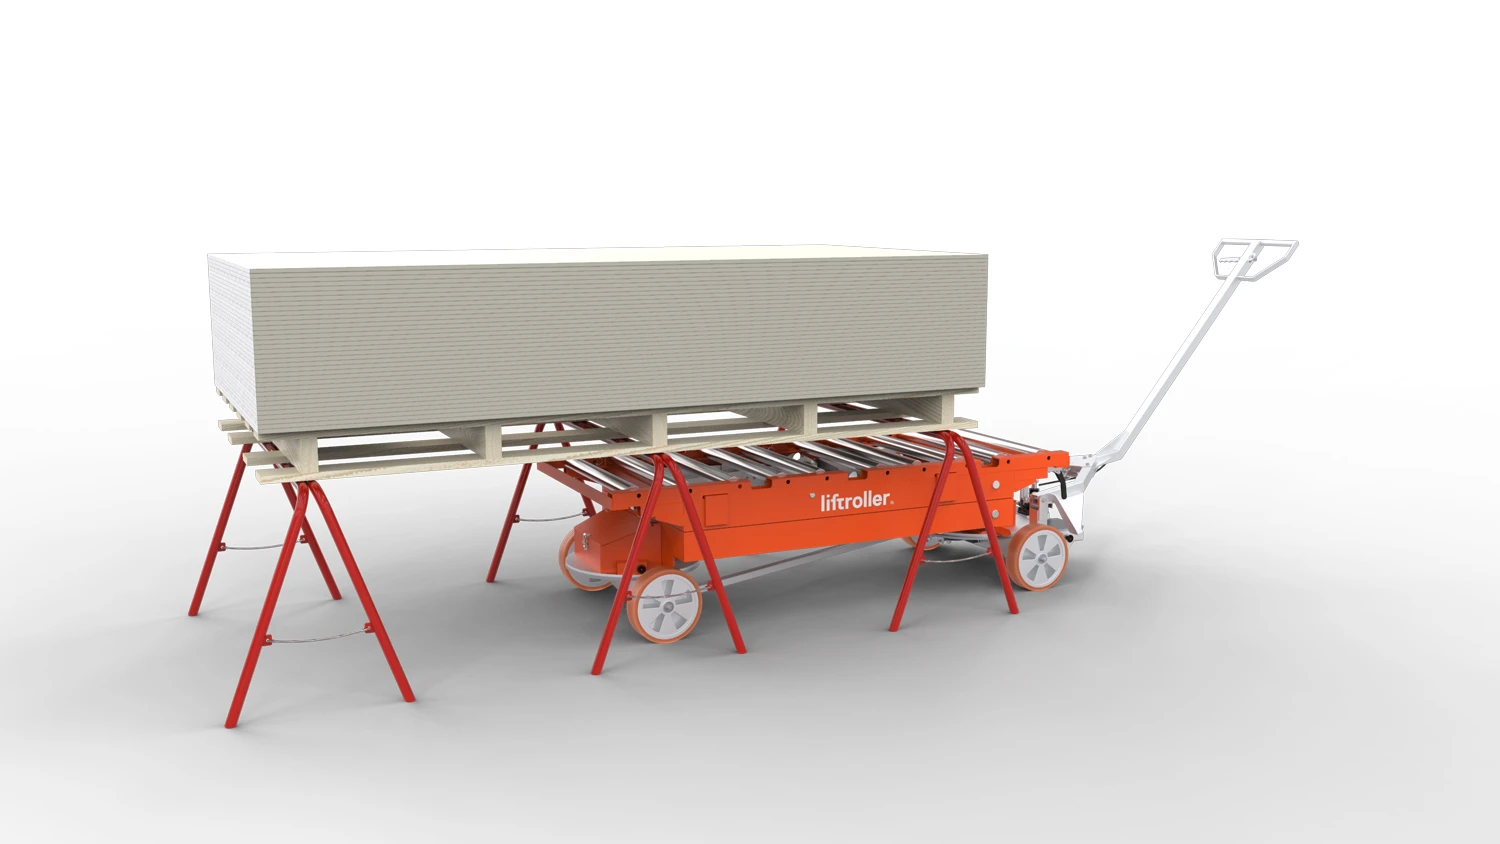
4/6 Place the load on trestles

Wheel the wagon to where it is to be used. Place trestles underneath the load at the front and rear of the wagon, then lower it onto the trestles.

5/6 Release the wagon

The wagon is now free to collect the next batch of materials.

6/6 The next batch is already waiting

By the time you have returned to the Liftroller Wall, the next batch of plasterboard is waiting, reading to be wheeled in quickly, easily and safely.

Video instructions